Articles from the past. I presented the Introduction to the Path to a practical use. And is a good way. To generate revenue for the Neu Photo Shop all.And today, we will bring knowledge about the use Pentool utilized. In another dimension, that is to create a Path in various parts of the piece we need to create a separate sub Path Paht1 (Path digits) Path to a small difference and has met the requirements.Creating clipping masking or cm it Path1 and Path to the sub in the Retouch and Colour Collection sure enough.If many people still do not understand that they will look to do the same what?.
Start by creating a Path1 around an object or piece of work we create.


After that we went to check the accuracy of the line Path1 we created that is correct or not.Then copy Path1 up.


Path copy when we have been brought up to a Path in the components as needed.As an example in our picture. I separate the major components of the image is the skin, shirt, trousers, background, pattern and other Path number are based on our needs or customers.

Check that the line we created is correct or not?. By using the Quick Mark.The selection in which we created, and then press Q (by the color of the Quick Mark branded into the waxes. - Double-click the edit in quick mark mode.


And other components, respectively.Techniques that should be taken to note also is another copy Path from Path to Path we created with Ctrl C in our Path box, select Path and then paste it into our new building with Ctrl V.As a Path Background Path1 we can copy the tool to create new path has already walked out of the frame is square.Or use the following method.
Create a new Path.Double-click the name was changed to Path - Background.

Copy Path1 ---> (Ctrl C) then paste it into the Path Background (Ctrl + V).

Building perimeter. Quadrangular.

After that we will have Path Background.

When we created in the Path Masking is done as desired, then it can be. This piece of work to do in the Retouch or Colour collection is more convenient.
Such as changing the color pants and so on.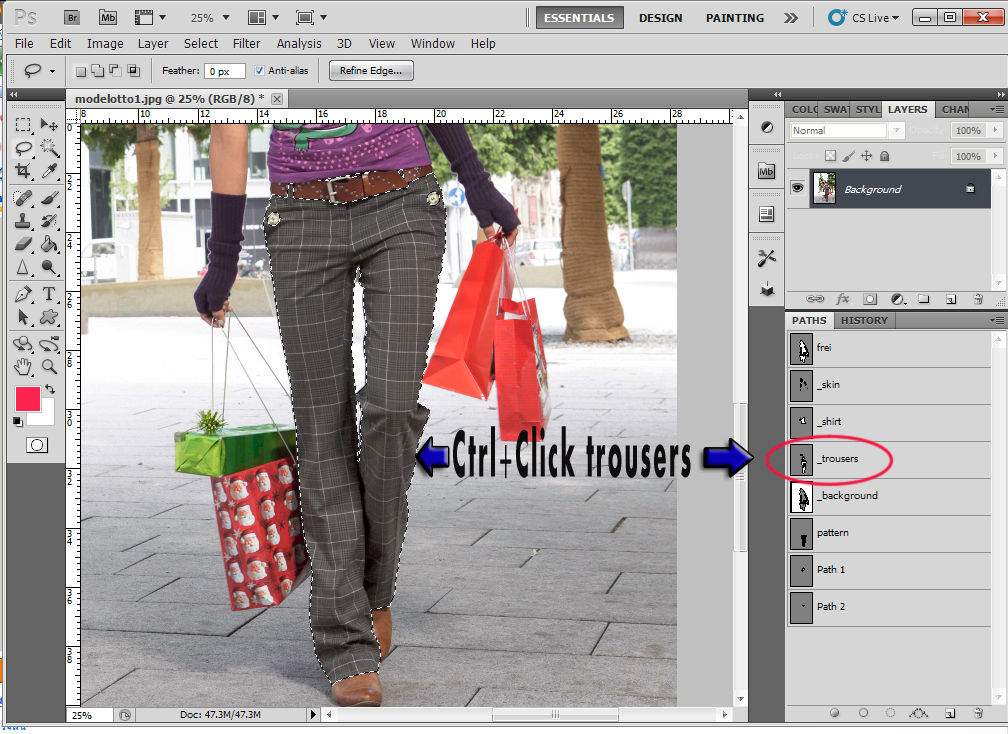


For the color change will be presented to the occasion.
Tips for creating a Save Masking should always to prevent error or a total load Office identify every Path is wrong or what not. Will be modified before submitting work.By pressing Ctrl + Shift then Click on the Path of all the separate. No need to include Path1 then press the Quik Mark if the line that I walk right Quik Mark to see it all the same color.
Try different look.Thank you to the visit to read Hopefully, knowledge, more or less.
ไม่มีความคิดเห็น:
แสดงความคิดเห็น